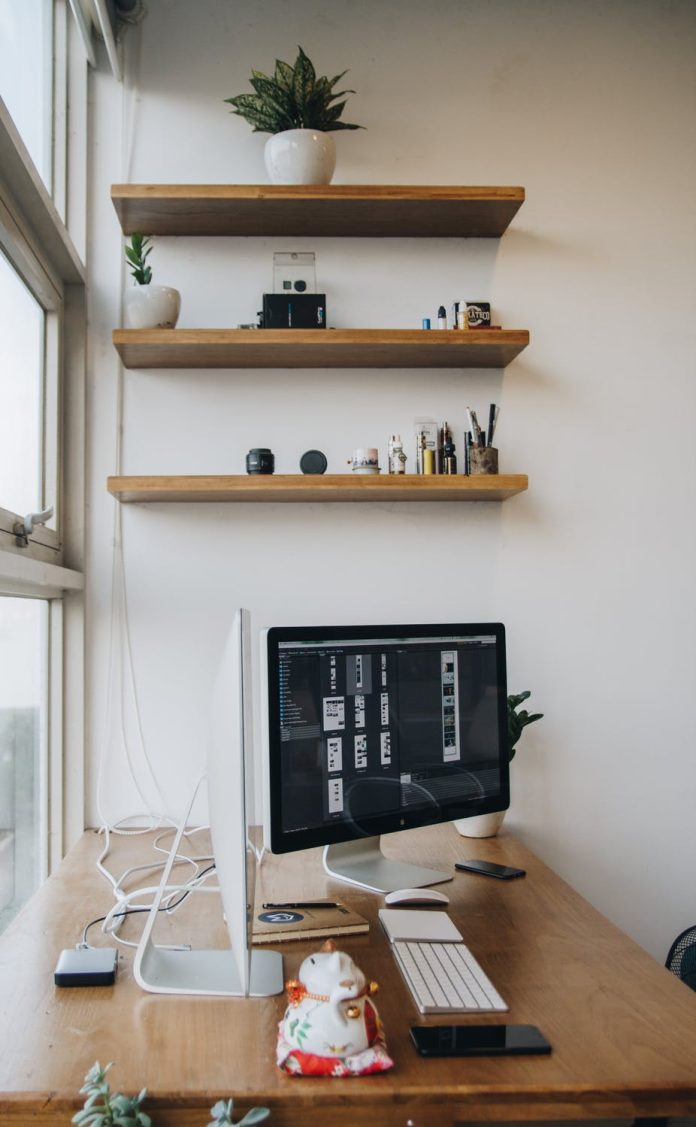
Shelving not only adds vertical space to your room but also can be an accent to your home or a conversation piece. Especially during the holidays when you have family over. Shelving makes for a great place to display worldly items, photographs and frames, and holiday decorations.
- Aquatic look Rope, Board, and Boat Cleat
Purchase two wood boards that would look nice as shelves, buy thick marine rope from the local hardware store. Paint your wood with a stain of choice. Grey is a very nice tone for this. Drill 4 holes in each piece of wood that will fit the rope but not be too big. Cut the rope into two large pieces that can run from one side of the hanging wood shelves to the other. Loop the ends through each of the holes and tie the rope through the boards. Then use a boat cleat on your wall to hang the floating wood shelves. I would recommend you place the boat cleat into a stud and use wall anchors for this since it supports a heavy shelf.
- Industrial Piping
This look is all the rage with the farmhouse style. You can find industrial pipes at the hardware store. However, make sure your layout where you are putting your shelf in your room. Measure it and know how much piping you will need. Make sure you select the correct sizing at the hardware store for every single pipe and board. Also, evaluate the type of piping you are using; not all can be spray painted. If you buy the black piping, it is very oily, so wash these before using them. Purchase the wood board and stain it your color of choice. If you have three piping support brackets, you could probably do three boards on the wall. Make sure to line up every pipe you place on the wall so they are very straight for the shelves.
- Cutting boards for shelving
You can make all kinds of shapes and designs by just purchasing a wood board and cutting it into a shape you want. Measure this carefully, and when you put the wood up, make sure you anchor it so it can support the weight of the shelves. There are numerous ideas on shapes. You can even use a corner of theorem and cut corner pieces, so you create floating corner shelves. For the holidays, you can cut the wood into a Christmas tree or a snowflake. You can do this by cutting smaller wood on top and widening the length as you reach the bottom. Or cut a triangle and place shelves within it.
- Using what you have
Take a look around your home and look at old bookcases or flat pieces that could be cut or placed on the wall as a shelf. Many times these are unique looking and a great way to start a conversation. Painting and staining can change the item dramatically as well.
- Using what’s outside
Look around outside at branches that have fallen and see if anything can be used as a shelf. You can paint these, stack them, and put them on the wall for creative natural shelving. Make sure to use dry wood that isn’t rotting.
Making your space feel cozy and functional can be fun. Adding shelving enhances the space and gives you a place to put smaller items. Most of these shelves can be accomplished within a day of some manual labor.
Conclusion
There are many DIY options for shelving, some easy and some requiring a little more creativity. The best advice is to use what you know and create shelving that reflects who you are.


